Web Design & Development
Set up email in Windows Live Mail
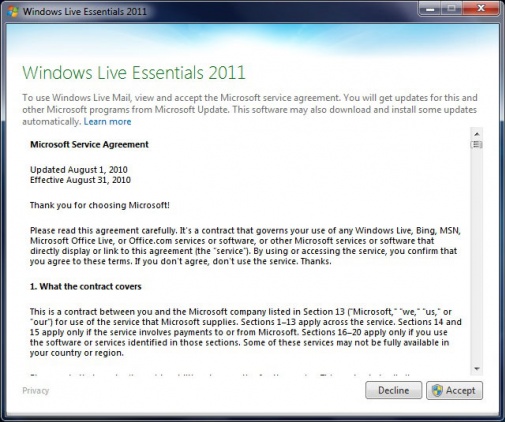
- Windows Live Mail is now part of Windows Essentials. If your computer asks to install Windows Essential then you must click Accept to agree to the service agreement as in the screenshot below.
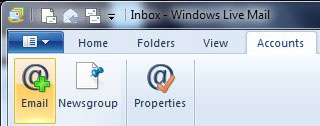
- Click the Accounts tab and then select the Email (first) icon. If it is the first time you have started the program you can skip this step.
- Fill out the necessary information as shown in the screenshot below. Here you can tick Remember Password so the program won't as you for your username/password each time you do a send and receive. Make sure 'Manually configure server settings' is ticked (Once done, cick next).
Your password should have been given to you by us.
Your display name is used on all mail you send as the sender of the mail (e.g. From: John Smith)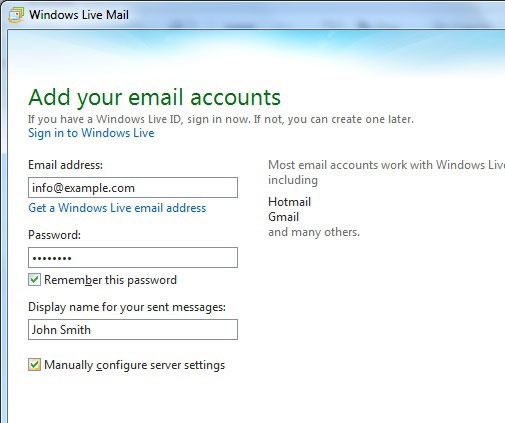
- Fill out the rest of the information as shown in the screenshot below. Make sure that both 'Requires a secure connection (SSL)' (Incoming & Outgoing) are not ticked. Ensure that Authenticate using is set to Clear text.
Your username should have been given to you by us.
Server type is POP.
Incoming server address is mail.yourdomain.com (this may vary, please ask if unsure)
Outgoing server address is mail.yourdomain.com (this may vary, please ask if unsure)
Make sure that 'Requires authtication' under Outgoing server is ticked.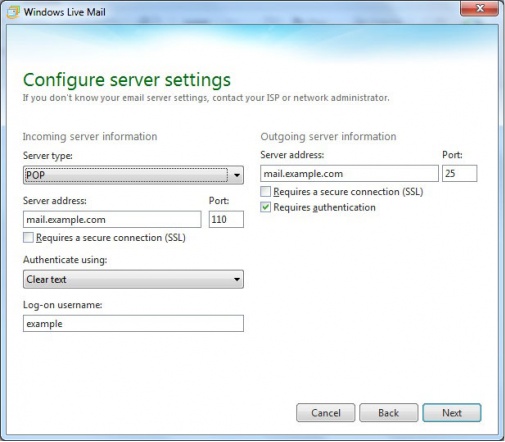
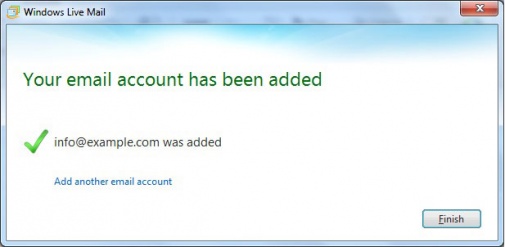
- This will now show that you have successfully Entered in the account information. You can now click finish to complete the set up.
- Optionally right click on the new account in the left hand list and click 'Properties'. You will then be able to go to the 'Advanced' tab and tick 'Leave a copy of messages on server', and then tick 'Remove from server after n day(s)' and set the number of days to 7. Click OK.


